Blackwork Tattoo Ideas: Compare Bold Shapes and Negative Space
Plan a blackwork tattoo by comparing three studies of solid black shapes and open space, then turn your favorite balance into an artist brief.
THE SHORT ANSWER
How can I plan a blackwork tattoo design?
Choose an original subject and sketch a few versions with different solid black areas and open gaps. Compare their silhouettes, mark the space you most want to preserve, and bring your preferences to a tattoo artist for an original design and advice on scale and placement.
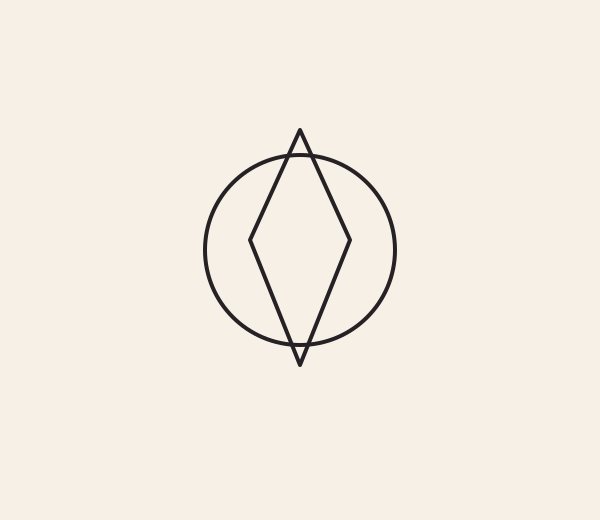
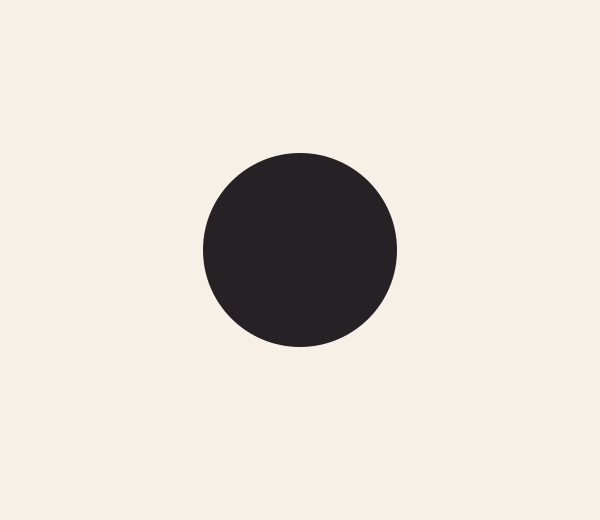
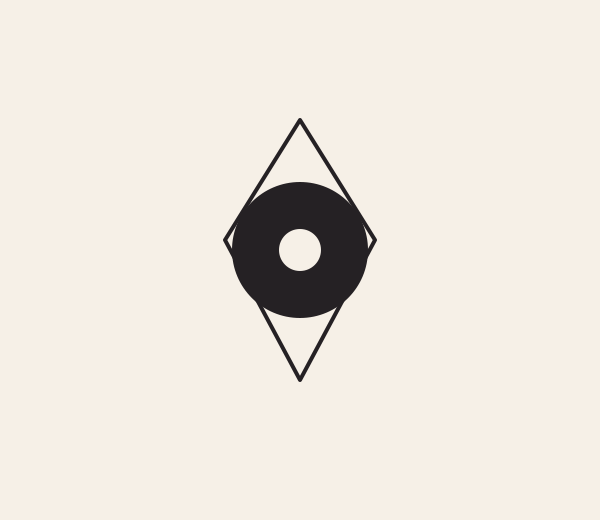
A blackwork tattoo can be built around a striking silhouette, a sweep of solid black or the skin left visible between shapes. To plan yours, choose a subject and compare a few versions with different amounts of fill before settling on the details. Notice what you recognize first, where your eye rests and which open spaces give the design its character. The three studies below offer a way to make those choices. Use them to describe the balance you like, then bring your subject and priorities to a tattoo artist who can develop an original design for your chosen placement.
FIELD NOTE / 01
Start with a silhouette you recognize
Blackwork covers a wide range of tattoos made primarily or entirely with black ink. For this exercise, focus on the relationship between solid shapes and negative space: the open areas around and within them. Both contribute to what you see.
Choose a subject that gives you a clear outline to work with. It might be a raven, a branch of leaves or an imaginary flower. Sketch its broadest shape first, without veins, feathers or decorative borders. What makes it recognizable? For a raven, you might decide that the spread of the wings matters more than the individual feathers. For a flower, the outline of the petals might be the feature to protect.
Write that priority beside your sketch. You do not need a polished drawing; a rough outline and a few words are enough to begin a conversation. If the subject loses its identity when you remove the details, consider making its outer shape simpler or more distinctive before adding anything back.
FIELD NOTE / 02
Compare three ways to use solid black
These original diagrams compare outline, solid fill and a cut-out opening. The first shows circle and diamond outlines with no filled areas. The second is a solid dark circle: the interior line disappears into the fill. The third places a smaller dark circle across a diamond outline and cuts a light opening from its centre. Compare how much detail you can distinguish in each.
Apply the same comparison to your subject. Make one rough version with an open centre, another with a stronger outer frame and a third with the darkest area near the middle. They do not have to match the studies exactly. The point is to hold your subject roughly constant while changing where the black sits.
Place the versions side by side. Which one feels closest to the tattoo you want to wear? Pick a first choice, but keep the runner-up: being able to say why you prefer one over the other is useful information for your artist.
FIELD NOTE / 03
Give the open gaps a job
Negative space is more than whatever is left unfilled. It can separate a wing from a leaf, define the centre of a flower or create a pause between two dark shapes. Look at the gaps in your favorite study as carefully as the filled areas.
Find the opening that helps you understand the subject. In a raven and foliage concept, for example, a clear channel between the wing and the leaves could stop the two forms from reading as one dark mass. Then find the smallest opening and ask what it contributes. Does it distinguish a feather, or is it a decorative cut you could do without?
If the sketch feels crowded, try removing a leaf or widening a channel rather than adding more outlines. If it feels scattered, try grouping a few shapes into a simpler mass. Mark the gap you most want to preserve and ask your artist how it could work at your intended size and placement.
FIELD NOTE / 04
Make one change and compare again
Once you have a favorite direction, make a second version that changes only one thing. You could open the centre, join two dark areas or simplify the outer edge. Keep the subject and approximate drawing size the same so the effect of that decision is easier to see.
Look at both versions as small thumbnails, then at a comfortable viewing size. At a glance, which dark area catches your attention? Can you still follow the open path you wanted to keep? Up close, does the edge feel calmer or more interesting in one version? There is no single correct balance: a dense, bold composition and a more open one can both be deliberate choices.
Finish with three short notes: the dark mass to keep, the space to open and the edge to simplify. A thumbnail is a way to compare your preferences, not a test that establishes a tattoo's final size. Your artist can assess the actual design.
FIELD NOTE / 05
Choose details that support the focal point
Now consider the details you left out. Add one at a time and ask what it does. A few feather separations might clarify the direction of a wing; a border might frame a flower; small cuts in a leaf might create a rhythm you like. If a detail does not help the subject, silhouette or spacing, compare the design without it.
Prioritize rather than listing every possible feature. You might decide: “Keep the open centre and the pointed leaf tips; the small interior marks are optional.” That gives your artist a clear hierarchy without prescribing every line. If the details compete with the main shape, try fewer of them or reserve them for one focal area.
The amount of detail that works will depend on the drawing, its scale and where it sits. Bring your preferences and questions to an artist rather than treating a digital sketch as a finished stencil.
FIELD NOTE / 06
Explore where the design could sit
Placement can change which part of a composition you notice first. Imagine your subject on the area you are considering: would you rather the long edge follow the arm, or would you prefer a compact shape that sits more centrally? Would the main opening face outward, or be visible mostly from your own point of view? Write down the orientation that appeals to you and any flexibility you have about size.
InkWorld's photo or camera Try On lets you see an idea on yourself as you explore position. You can also use the app to create a tattoo idea, explore styles and save or share designs. Treat a preview as a starting point for discussing visual preference, not as technical approval for a tattoo.
Compare positions by looking for the same things you marked in your sketches: the main silhouette, the strongest dark area and the opening you care about. Then ask your artist to review the actual drawing and placement with you.
FIELD NOTE / 07
Turn your choices into an artist brief
A useful brief tells an artist what matters while leaving room for their judgment. Start with your original subject and the area of the body you are considering. Then describe the visual priorities you found: which shape should stand out, which gap should stay open and what can be simplified if the design needs adjustment.
For example: “I want a raven in flight with leaves around it. I'd like the wings to read first, with a clear opening between the bird and foliage. The small feather cuts are less important than that separation.” Add whether you prefer the open-centre, framed or dark-centre direction, and show the relevant study as a reference for balance rather than a design to copy.
Bring your rough sketches and any saved concept to the consultation. Ask what scale and spacing the artist recommends for their original interpretation, and invite alternatives if your preferred details compete with the overall shape. You will leave the discussion with a clearer direction without having to settle every visual decision on your own.
YOUR TAKEAWAY
Make this design your own.
Start with an idea, then change the details to make it yours.
Copy your prompt and paste it into InkWorld. Choose your art style in the app.
Make a brief for your tattoo artist
Keep your notes and questions together for a conversation with your artist.
EXPLORE THE APP
Explore your idea in InkWorld.
Explore different directions and save the ideas you love.
Try your idea in InkWorld ↗Sources & editorial notes
These ideas are editorial guidance, not medical or professional tattoo advice. Discuss the final design and placement with your tattoo artist.
- InkWorld App Store listing — product reference ↗
- SERP reference: Blackwork Tattoos: Styles, Origins and How Solid Black Ages ↗
- SERP reference: 160 Blackwork Tattoos ideas | solid black chest ... ↗
- SERP reference: r/Blackworktattoos ↗
- SERP reference: Blackwork Tattoos: Ideas and the Artists Who Do Them Best ↗
- SERP reference: Blackwork Tattoo: Designs, Styles, Meaning & Ideas ↗
- SERP reference: Blackwork Tattoos: The Complete Guide to Bold Black Ink ↗
- SERP reference: Blackwork Tattoos: Styles, Placement, Cost and Aging ↗
- SERP reference: BLACKWORK TATTOOS ↗